Hi! I actually bought the products I talk about in this post. If you want to try them, please use the link on this page to check them out. I’ll make a little money if you do. That would be awesome! You could even drop me a line via Twitter @decentmadam to let me know it was you! And then we can talk about whether you love them!
The trouble with reading gardening books for fun is that there will always be some new idea that I wish I had known about before.
I learned from Golden Gate Gardening that sprouted peas don’t grow better than peas planted in the soil – although I’ve read elsewhere that you can get a head-start by sprouting them. The day before that, I learned that for peas to fix nitrogen, the right bacteria has to be in the soil – and you can get a head start on that by dusting (inoculating) them with the correct bacteria.
But have I got the correct bacteria? And is it working? To get some answers, I’m starting a few tests today:
- Inoculated vs. not inoculated.
- sprouted vs. not-sprouted
- Dig vs. no-dig
Gardening advice tailored to our Mediterranean climate, here in Northern California.
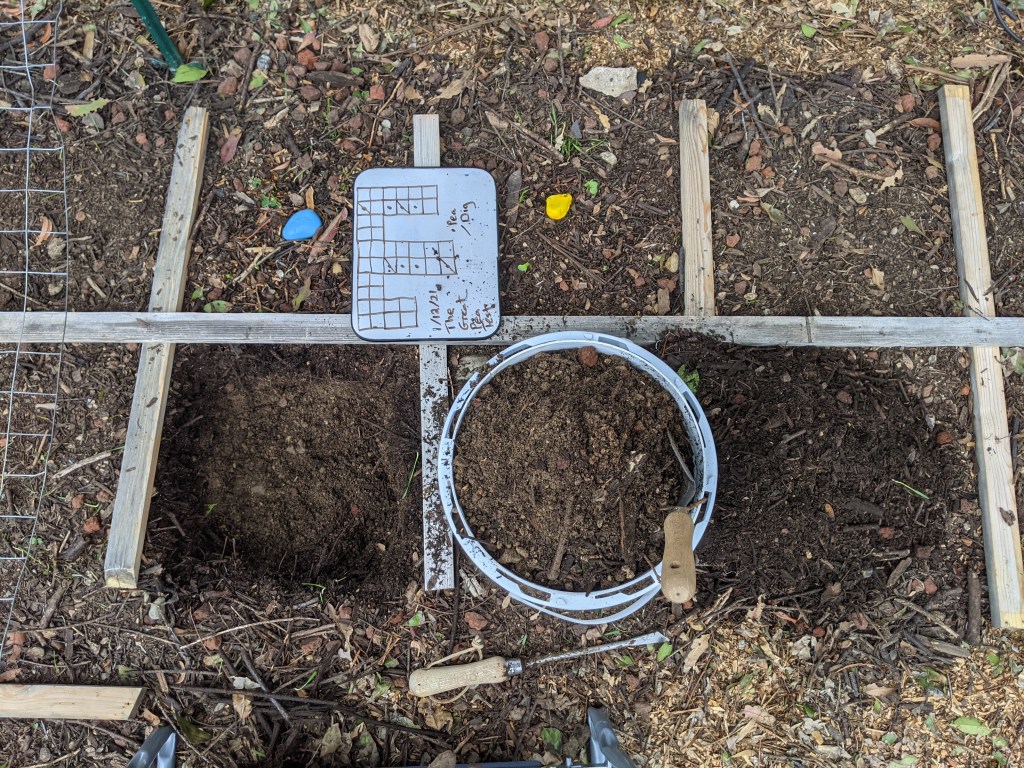
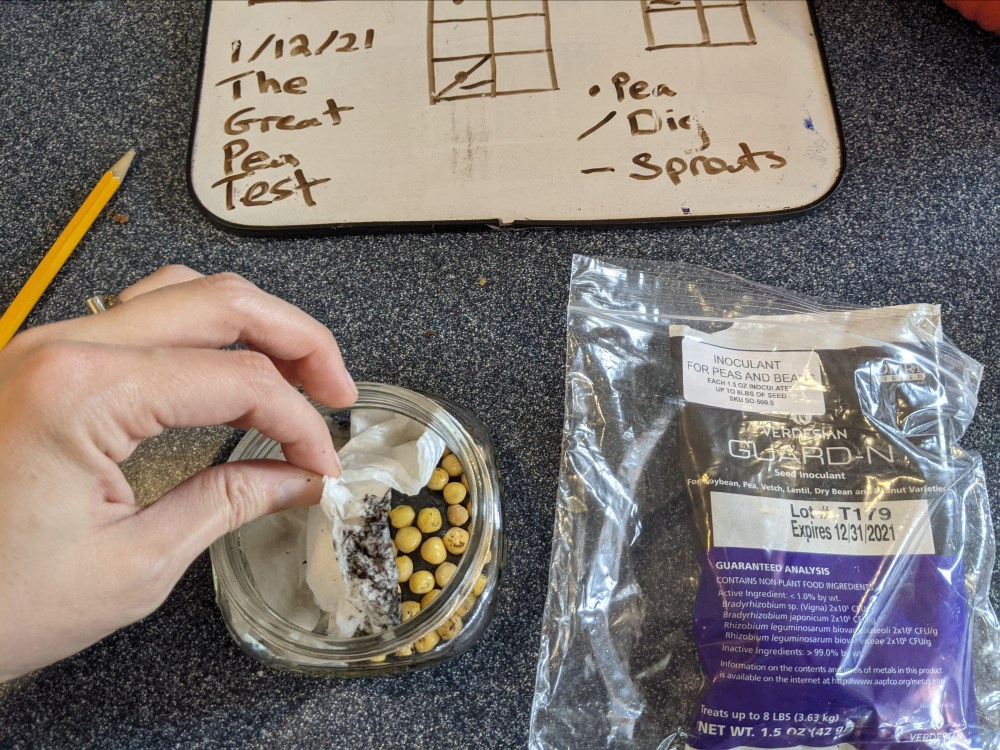
Getting these tests set up has been a bit of a project. Lucky for me, I’ve had plenty of time to think this through before my pea inoculant powder arrived, today! These days, a lot of ideas don’t stick nicely in my head, so I also made myself a little chart to refer to while prepping my planting squares..
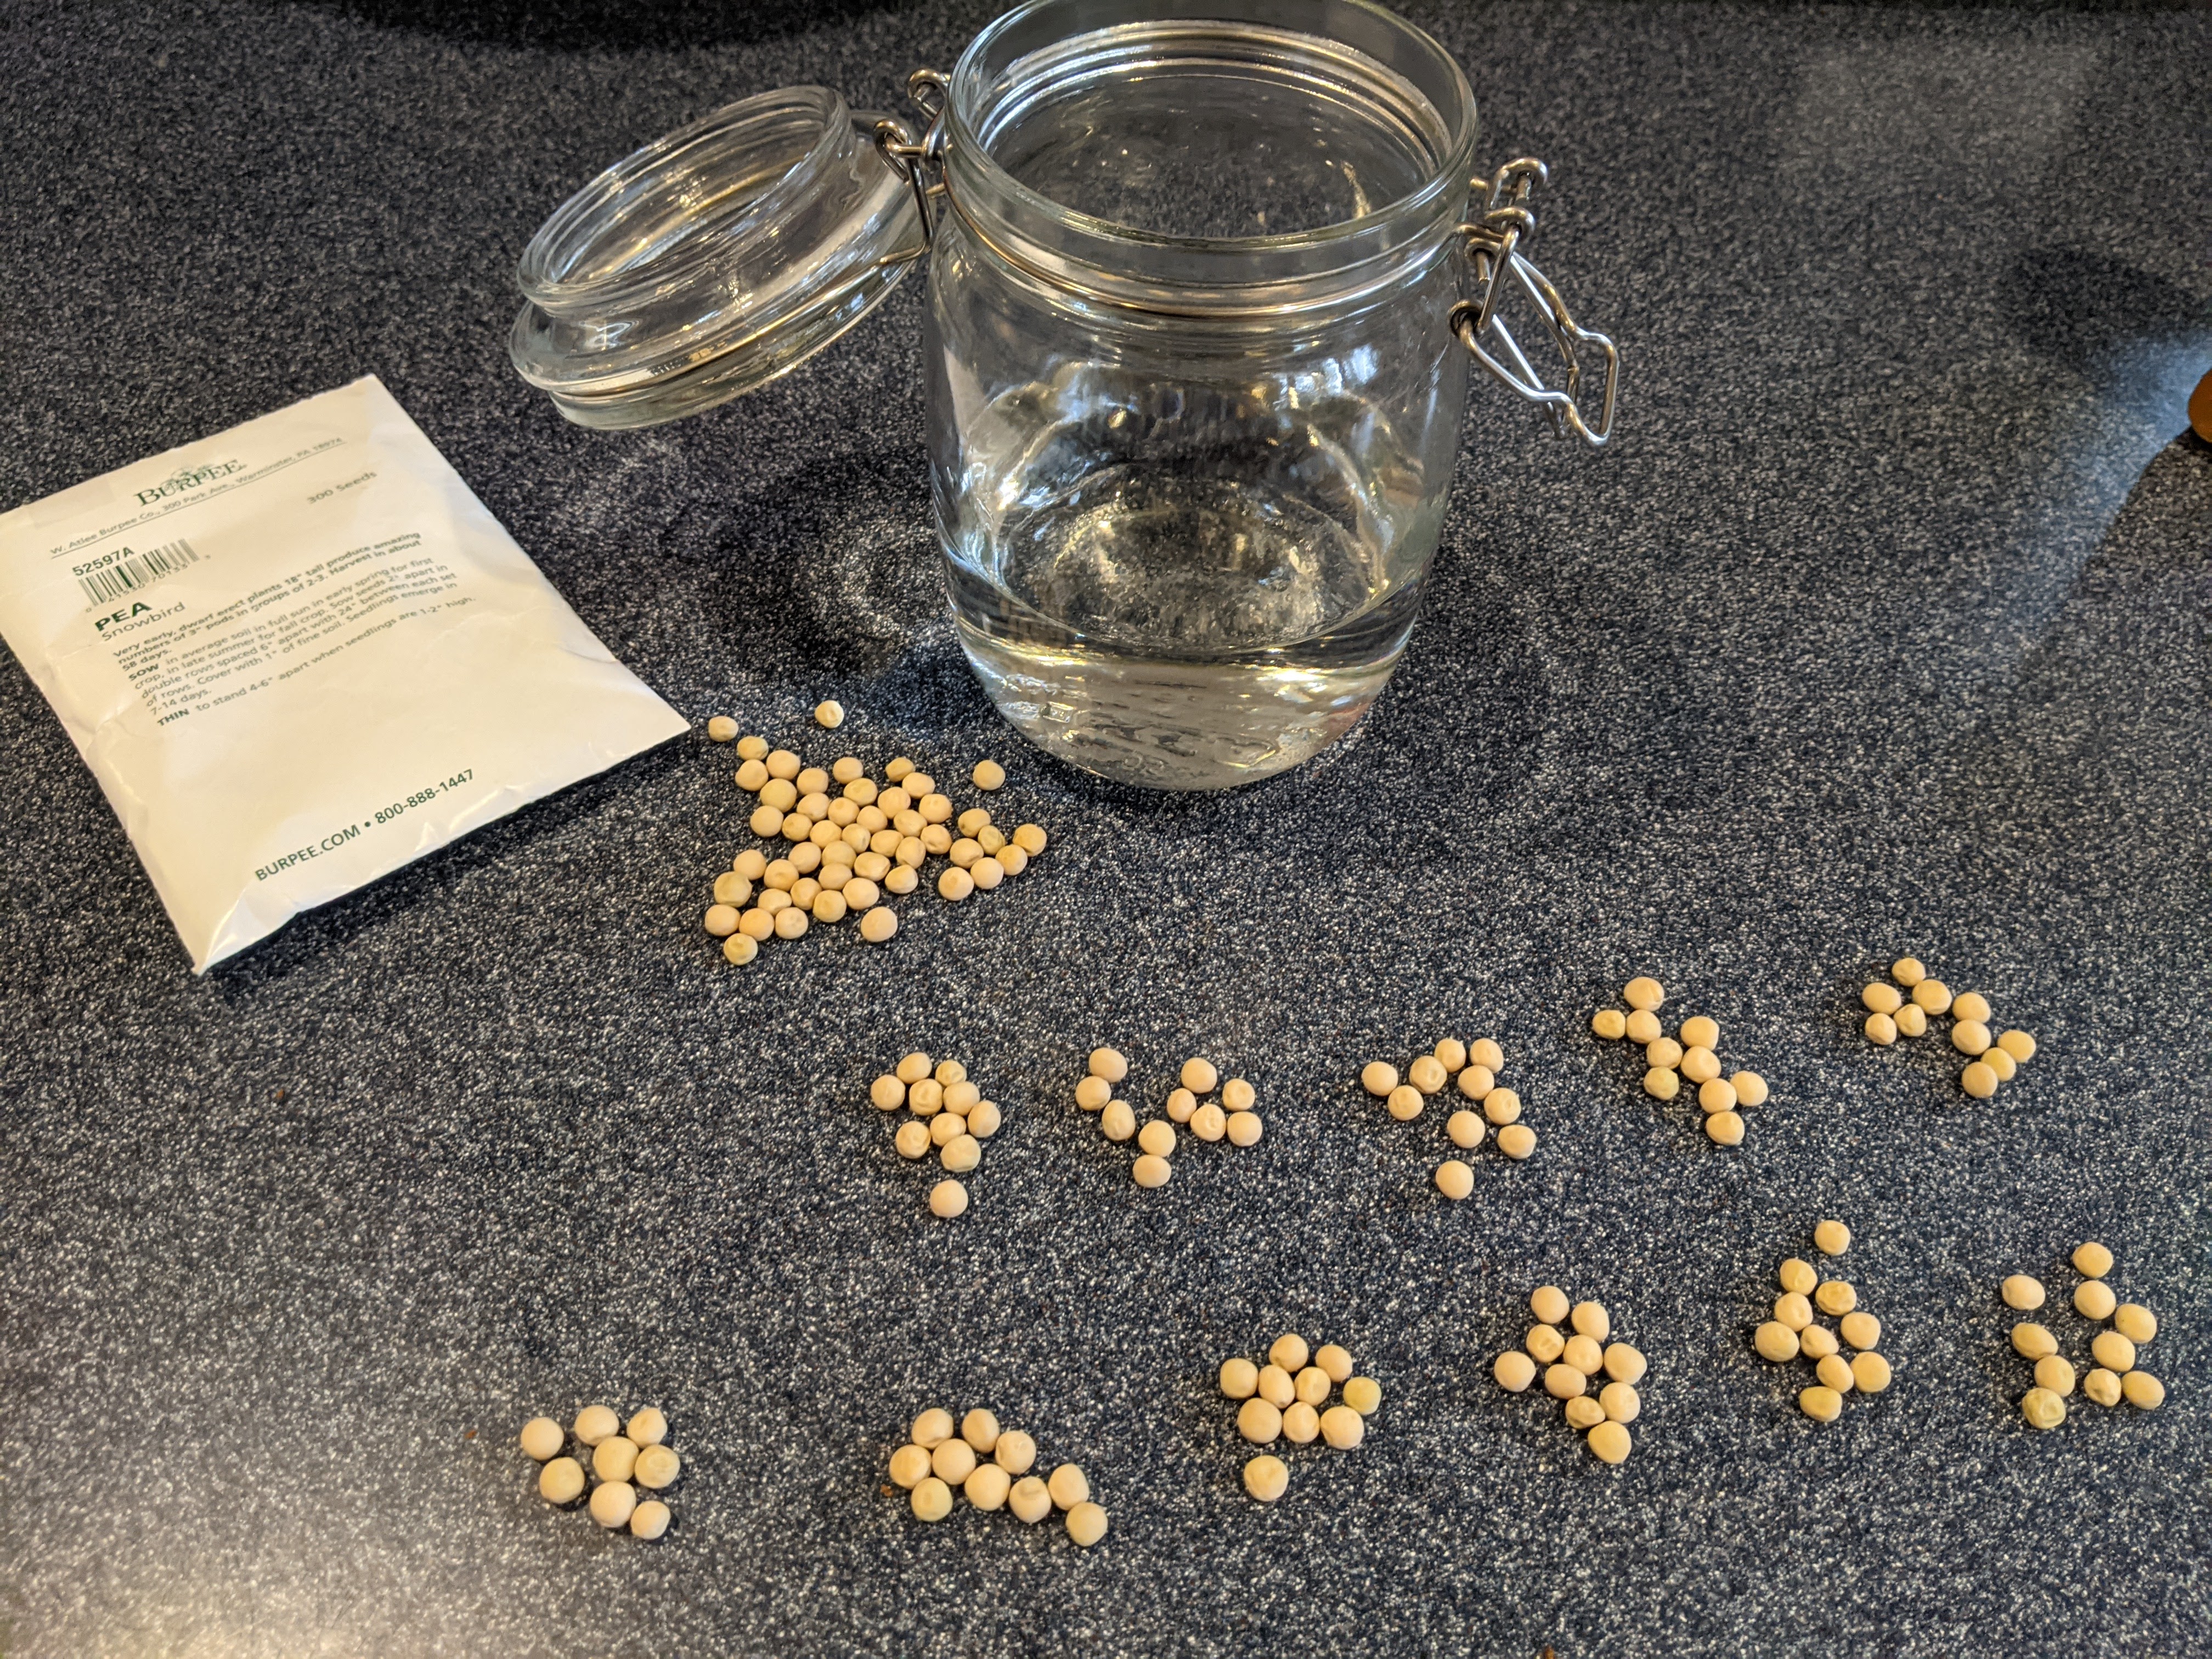
To get this test started, I soaked all of my pea seeds for four hours. Hidrating is the first step a seed takes before germinating. If you don’t soak them in advance, they have to get that moisture from the soil, which slows things down. Four hours is enough to give them a head start without risk that they become mushy and get damaged.
I want my peas to nitrify my soil, so I’m dusting all of them with the pea inoculant, but not before setting aside my control peas. I have three seed packets from Burpee Gardening to chose from. For this this test, I’m planting the the ‘Burpeeana Early’ pea, which takes about 63 days to reach maturity. According to the internet, pea nitrification is most intense when the peas are flowering, so I want them to get that far. But the plants then use up most of the nitrogen they’ve stored to develop fruit, so I don’t want them to get that far. These ‘Burpeeana’ seeds should give me enough time to get my soil nitrified and then behead excess plants in time to get my next veggies planted.
Inoculated vs. not inoculated
For my first test today, I want to plant some inoculated seeds and non-inoculated seeds in coconut coir seed mix. At first I I thought I’d like to plant these in clear containers so I’d be able to see through the container if the roots develop nitrifying “nodules”. The nodules are little visible bumps on the roots where the rhizobia bacteria in my inoculant powder go to live. From there, they do the work of braking down ammonia in the soil into nitrates the plant can use.
The internet says that nodules begin to develop in about two weeks, but I also saw from photos online that a lot of the time, nodules form on the main roots closest to the plant stem so I might not be able to see any through a clear pot in any case. That’s what I’m telling myself since I forgot to set aside clear juice bottles for this.

I want to be as careful as I can to avoid getting my inoculant in my non-inoculated control pot, while remembering the first family motto: perfect is the enemy of done. To do that, I went ahead and planted my control peas before even opening the bag of inoculant for the first time.
Speaking of inoculant, I had a heck of the time finding the right pea inoculant. The packet I ended up choosing has bacterial strains to inoculate a few different types of legumes, so I’ll be able to use this on several plants throughout the year. The instructions on the packet are pretty flexible offering a few options to inoculate your legumes. I chose to pour a bit of the pea inoculant into a measuring cup with my soaked peas and a few drops of water. The instructions call for using water with no chlorine added, but all I have is tap, which definitely has chlorine. We’ll see how that goes.
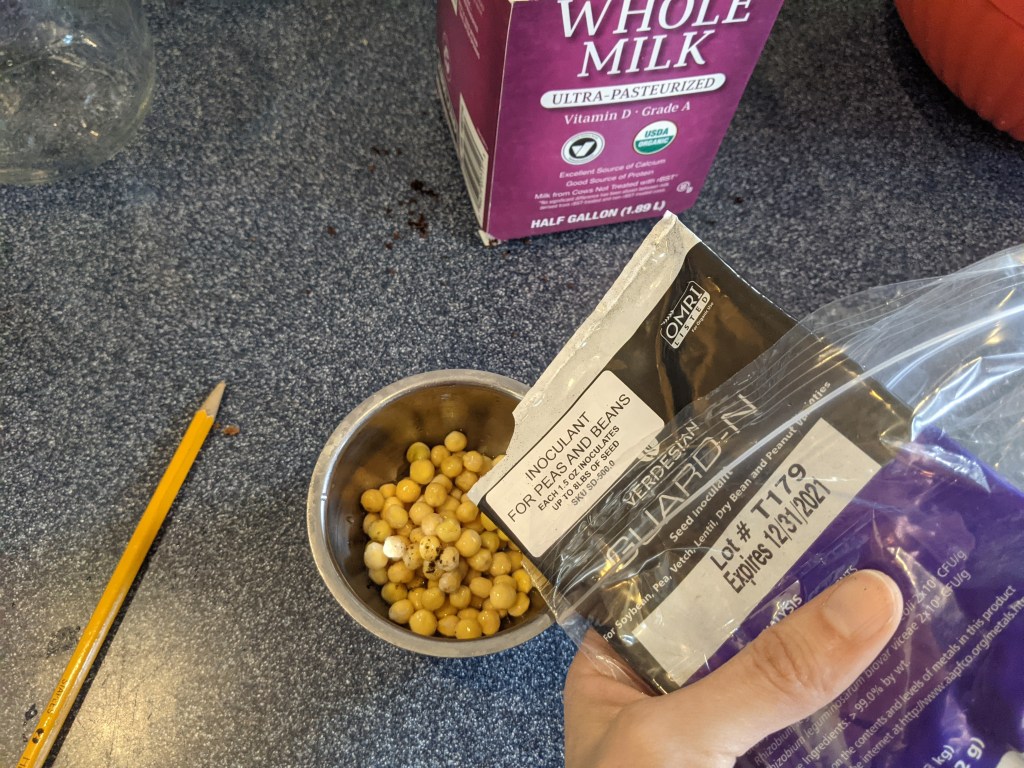
I got two of these inoculated peas planted in my coconut coir seed mix and set both pots (recycled milk cartons) aside.
As far as I know, rhizobia bacteria don’t travel through the air, but worst case scenario, the control will be contaminated, and we’ll see nitrification on both samples. I can sprout some peas later on, if that happens, to find out if I’ve just got rhizobia hanging around ready to be useful.
Sprouted vs. direct sown
I already planted some sprouted pea seeds last week, and they seem to have come up just fine (despite the cold weather, and frost), but since reading Golden Gate Gardening, I am curious to know if there’s a difference between peas sprouted in the soil, or peas sprouted indoors and then planted after they’ve germinated. So, I’m leaving three of my prepared squares unplanted for now. I’ve added 36 of the soaked seeds into a jar with a moist paper towel, since this worked just fine for the last set of sprouts. I’ll plant them as soon as they’ve developed a radical (baby root). That means that all of the peas for this test start with today as the soaking date.
Dig vs. no dig
I already set up a dig vs. no-dig test with my early lettuce seeds, and I’d like to reproduce this with my peas as well.
I got a little help to turnover the soil in half the squares – my dig squares – to a depth of about seven inches. That’s about a 50/50 clay to murder compost ratio in the dig squares, vs. a three inch top dressing of 100% murder compost in the no-dig squares.
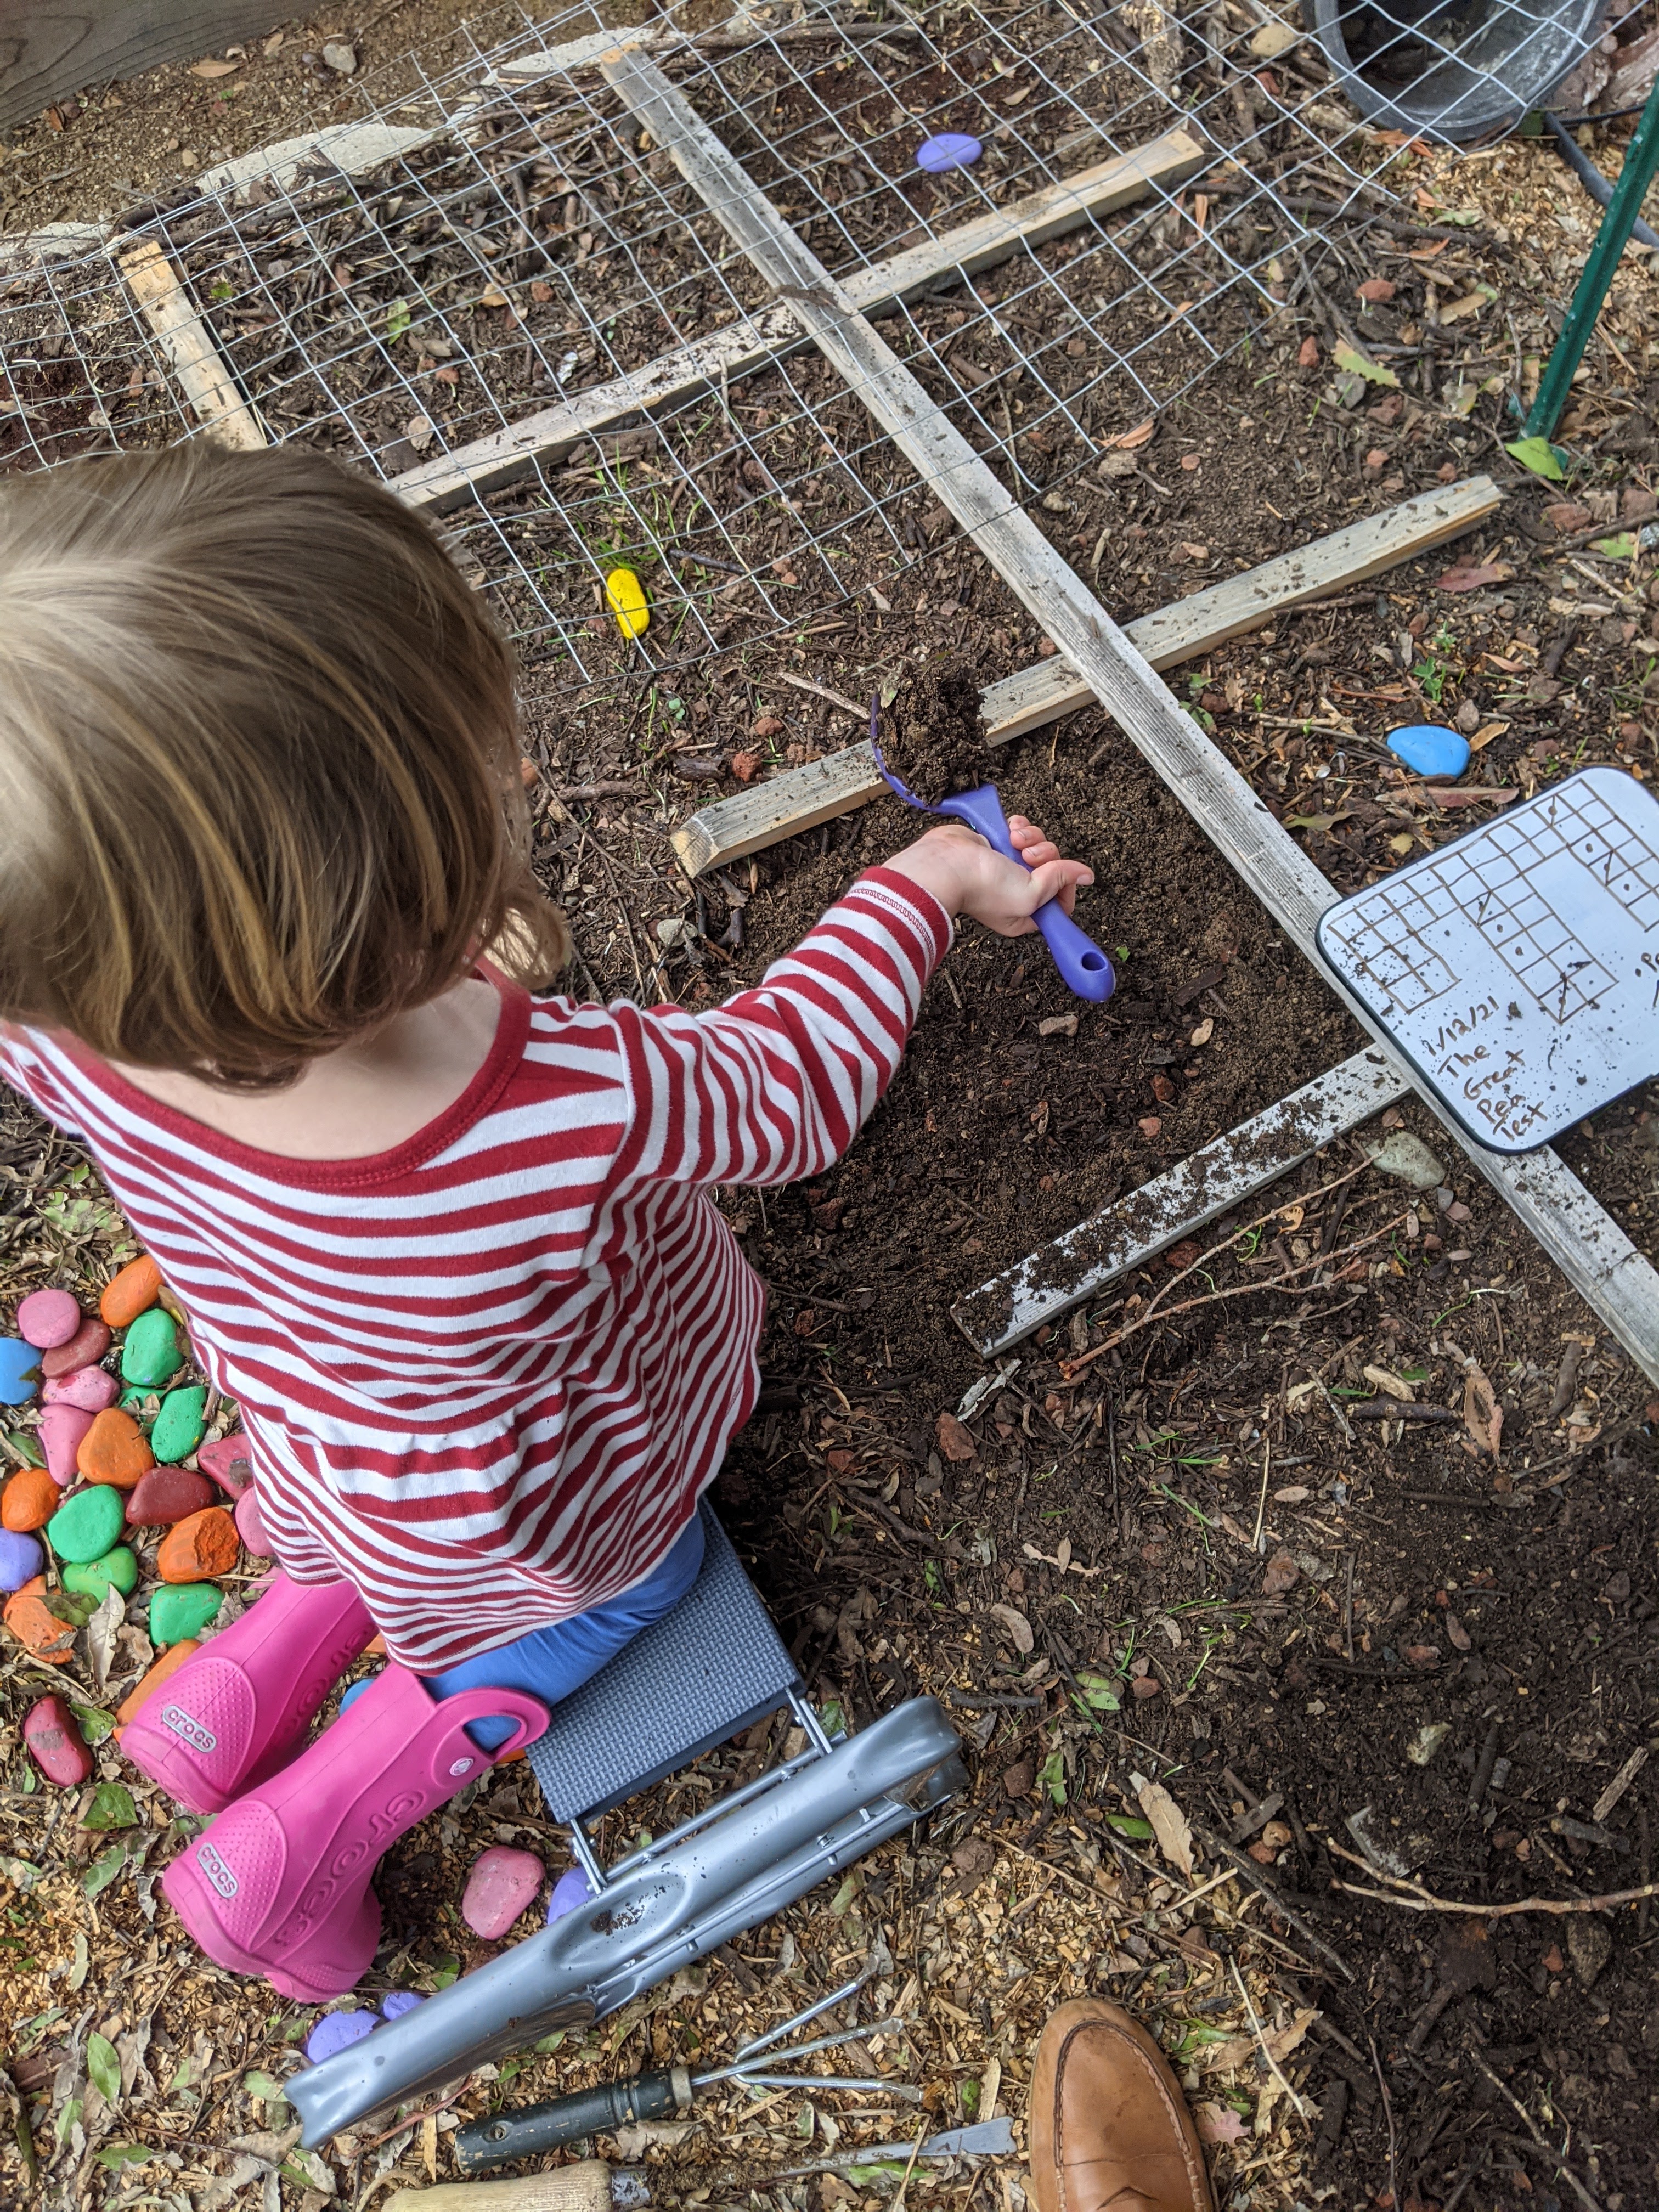
I was a little torn about whether to dig up the other half and fill them with just murder compost to a depth of seven inches. That way, I’d be taking out “loosened soil” as a test factor. But, ultimately this whole project is about finding out whether the laziest way works well enough. That means: no extra digging. Turned over soil vs. Top dressed. That’s the test.
Final thoughts
At this point about half of my veggie bed is covered in peas. I’m planting these mostly to keep myself busy as a cover crop, to hopefully add some nitrogen to my soil. As we get into March and I’m ready to get more varieties of fruits, veggies, and flowers planted, I’ll cut down most of the pea plants, leaving the healthiest looking plants to make my peas. And then I’ll plant the next set of crops!
Check Twitter @decentmadam or Facebook Outdoor Hedonist for regular updates on these peas and come back here in a couple months for a write up of the multi-method pea challenge. I’m so excited!

5 Comments Add yours